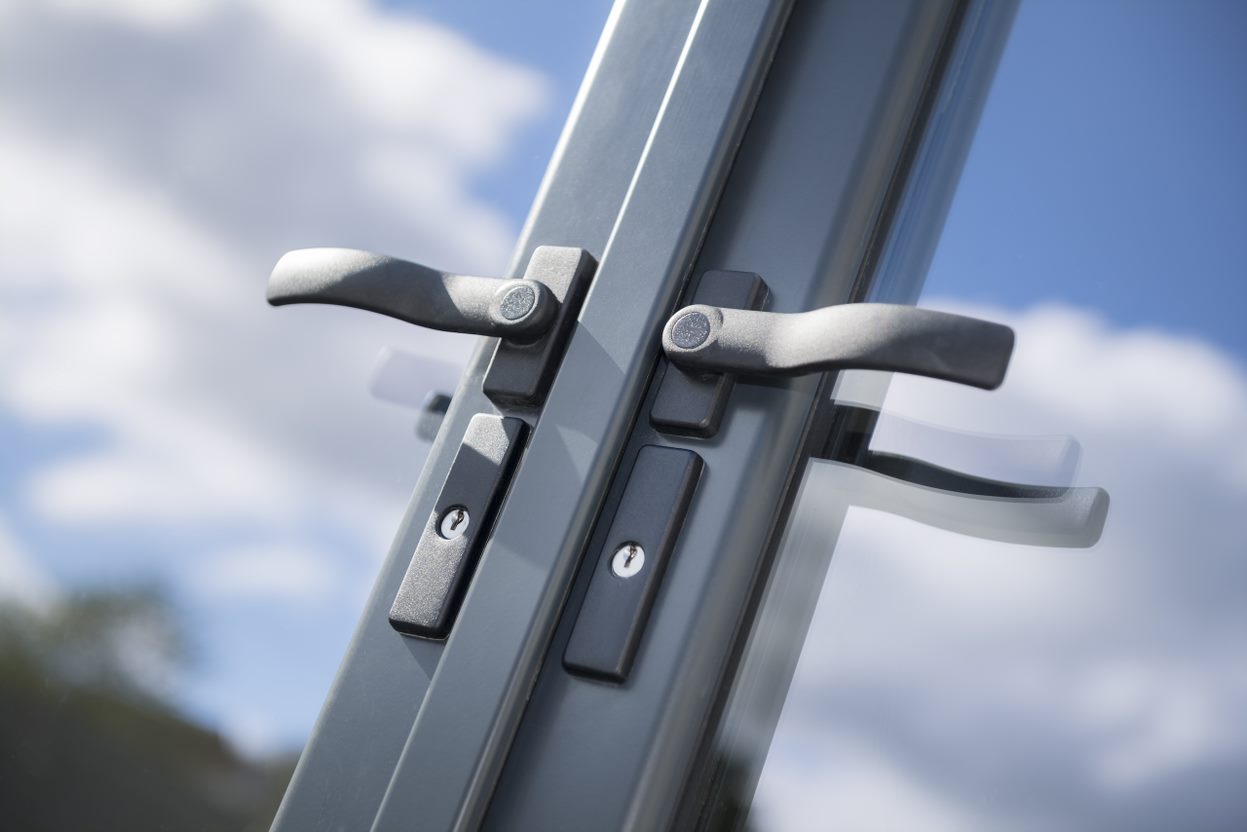

Repair Shop Door Handle
FollowOverview
-
Founded Date July 19, 1903
-
Sectors Educational
-
Posted Jobs 0
-
Viewed 7
-
Company size Theron & Theron Consulting
Company Description
It’s The Complete List Of Door Handle Replacement Dos And Don’ts
Comprehensive Guide to Door Handle Replacement: A Step-by-Step Approach
Door handles serve not simply as functional components of an office or home however also contribute substantially to the overall aesthetic of a space. Gradually, door handles can wear, become difficult to run, or perhaps break, necessitating their replacement. Whether you are carrying out routine maintenance, updating your home’s hardware, or repairing damage, knowing how to effectively change a door handle can conserve you time and cash while improving your space’s appearance. This short article offers a comprehensive guide on door handle replacement, covering different aspects, tips, and often asked questions.
Why Replace a Door Handle?
There are a number of factors one may consider replacing a door handle:
- Wear and Tear: Frequent use can lead to degeneration of the handle’s product, resulting in rough surface areas or non-functional mechanisms.
- Upgrade: Aesthetic upgrades can improve an area, aligning it with present style trends or personal choices.
- Security: Damaged handles can jeopardize the security of a door, making it simpler for unapproved people to go into.
- Performance Issues: If the handle is not operating smoothly, it might need replacement to bring back ease of use.
Kinds Of Door Handles
Before beginning with the replacement procedure, it’s essential to know the various types of door handles available:
- Lever Handles: These are simple to operate and typically chosen for homes with children and senior people.
- Knob Handles: Traditional and flexible, knob handles come in different designs and finishes.
- Pull Handles: Commonly used for larger doors, these handles focus on a pulling action rather than turning.
- Mortise Handles: These are more intricate, requiring a mortise, or pocket, cut into the door, using high toughness and security.
- Electronic Handles: Incorporating modern innovation, electronic handles supply keyless entry alternatives through codes, biometrics, or mobile phones.
Tools Required for Door Handle Replacement
Having the right tools on hand simplifies the procedure, making it more efficient and less discouraging. For a typical door handle replacement, you will need:
- Screwdriver (flathead and Phillips)
- Allen wrench (if appropriate)
- New door handle set
- Tape step
- Pencil
- Shatterproof glass (optional)
Step-by-Step Guide for Door Handle Replacement
Now that the groundwork is set out, here’s a structured technique for changing a door handle:
Step 1: Remove the Existing Handle
-
Loosen the Current Handle: Use a screwdriver to get rid of the screws holding the door handle in location. Depending upon the kind of handle, you may need to get rid of screws from both sides of the door.
-
Separate the Backplate and Latch: After removing the screws, carefully manage the handle and the backplate (if suitable). If a latch is attached, unscrew and separate it from the edge of the door.
Step 2: Prepare the Door
-
Examine the Door: Check for any damages like scratches or damages that may demand a repair or repainting.
-
Clean the Area: Use a fabric to wipe down the location where the new handle will be installed. This makes sure a clean installation.
Action 3: Install the New Handle
-
Position the New Latch: Insert the brand-new latch mechanism into the edge of the door, guaranteeing that it’s flush with the door surface area. Protect it with screws.
-
Connect the Backplate: If your new handle has a backplate, secure it in place now.
-
Place the New Handles: Take the brand-new handle set and place it through the holes, aligning them with the lock you just set up. Ensure that the handle turns clockwise or counterclockwise as needed.
-
Protect the Handles: Tighten with the screws to ensure stability. Prevent over-tightening, as this can harm the door or the handle.
Step 4: Test the New Handle
Once the new handle is protected, take a minute to evaluate its functionality:
- Turn the Handle: Ensure it moves efficiently and runs the latch correctly.
- Check the Door Security: Ensure the Door handle repairman locks and unlocks efficiently if geared up with a lock.
Step 5: Final Touches
- Tidy up: Remove any particles and discarded parts from your office.
- Carry Out a Functionality Check: Go through all actions when again to make sure everything operates effectively.
Tips for a Successful Replacement
- Select Quality Materials: Opt for long lasting materials that can stand up to wear and complement your decoration.
- Consider User Needs: If kids or elderly individuals will frequently use the door, choose lever handles over knobs.
- Follow Manufacturer Instructions: Always read and adhere to the installation guidelines offered with the brand-new door handle.
Frequently Asked Questions (FAQs)
1. Just how much does it cost to change a door handle?
Costs can differ extensively depending on the kind of door handle and the complexity of the installation. Fundamental knob handles might start at around ₤ 10, while higher-end lever handles or wise locks can exceed ₤ 100.
2. Can I change a door handle myself?
Yes, if you have standard DIY skills and tools, changing a door handle is an uncomplicated task that a lot of property owners can accomplish with ease.
3. What if the new handle does not fit?
It’s necessary to choose the appropriate size and style based upon your existing door handle setup. Double-check measurements before purchasing and seek advice from a professional if necessary.
4. How often should door handles be changed?
There’s no strict timeline for changing door handles. Nevertheless, examining them every few years for wear and functionality is suggested.
5. Is it possible to re-key the new handle?
Some door handle sets included re-keying capabilities. If security is an issue, think about selecting a handle that permits re-keying to replace the existing key setup.
Changing a door handle is an achievable DIY project that can enhance both the functionality and appearance of your doors. By following the outlined actions and utilizing the tools and tips supplied, property owners can efficiently handle this task, ultimately enhancing their home. As always, when in doubt, looking for professional assistance is suggested to guarantee a safe and practical outcome.